First of all, to those in the PC Power Supply for DC Charger? thread, I'm really sorry this took so long. Have been meddling with my Warp 360 and Uni Year 3 just started too so time is short.
I thought I would start by show-casing the end product first:
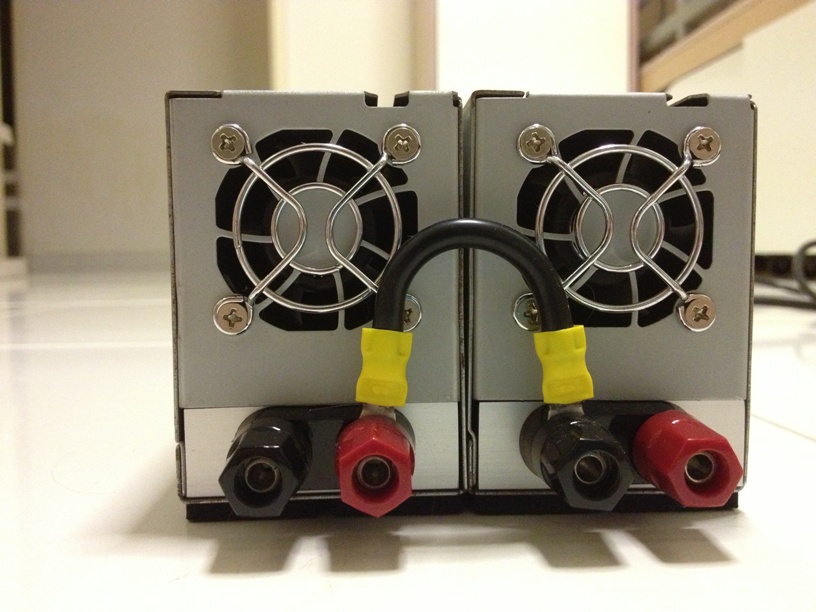
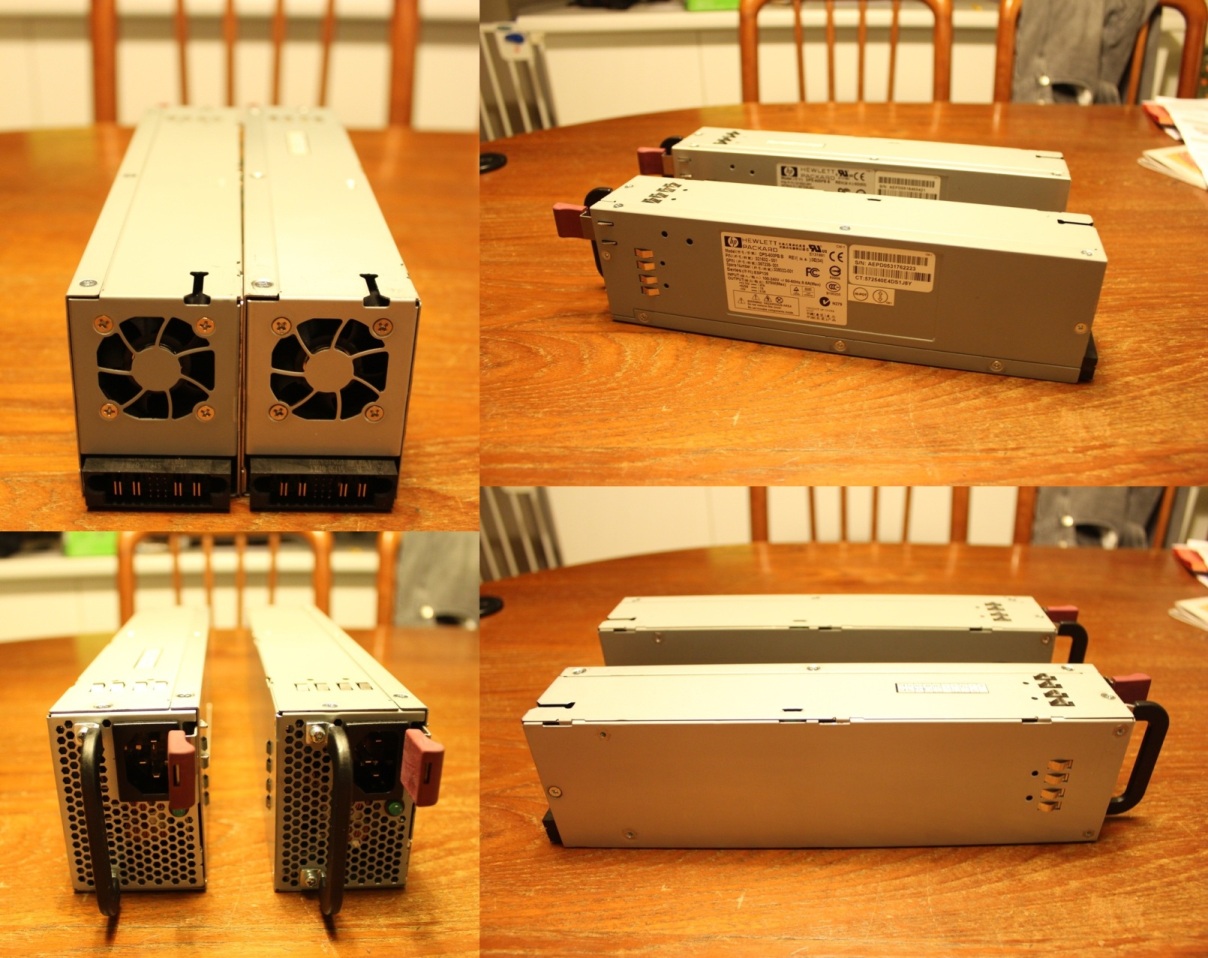
Front 1:
Front 2:
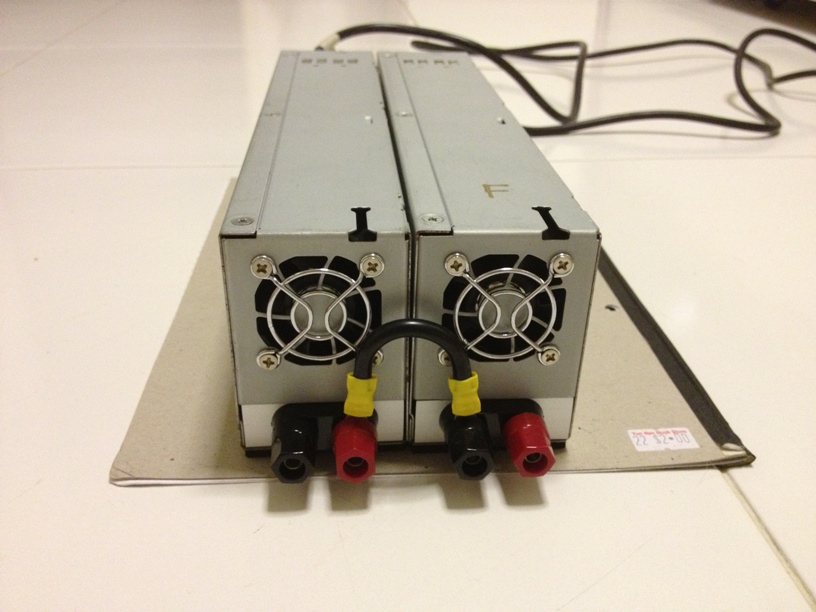
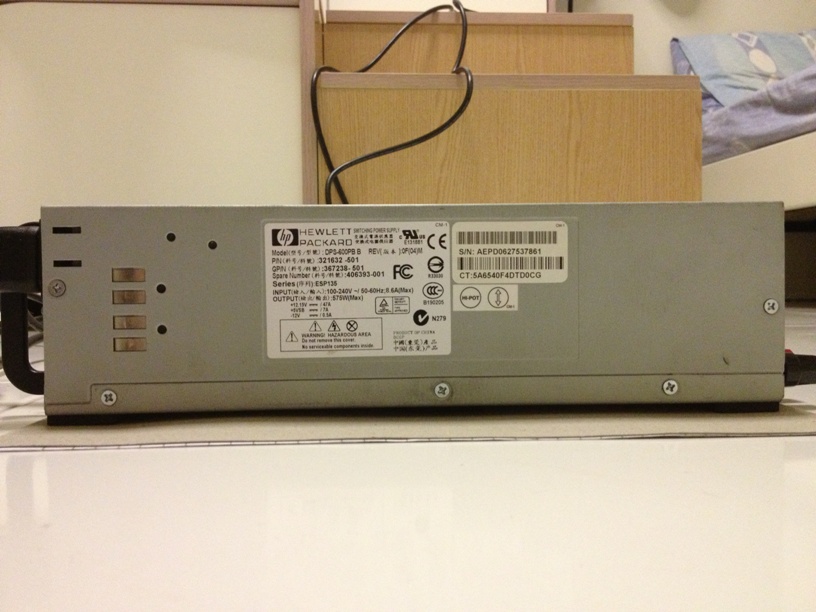
Back 1:
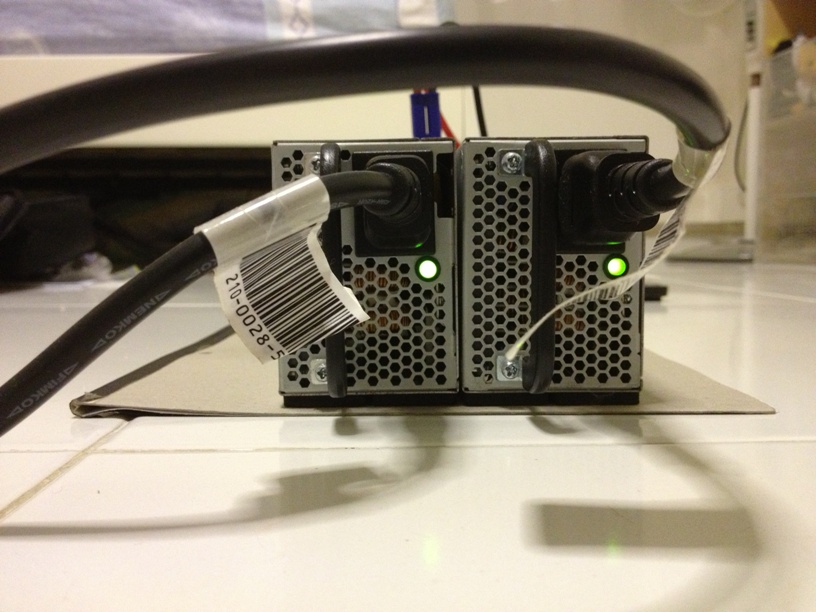
Back 2 (Green LED on when Power Supply On):
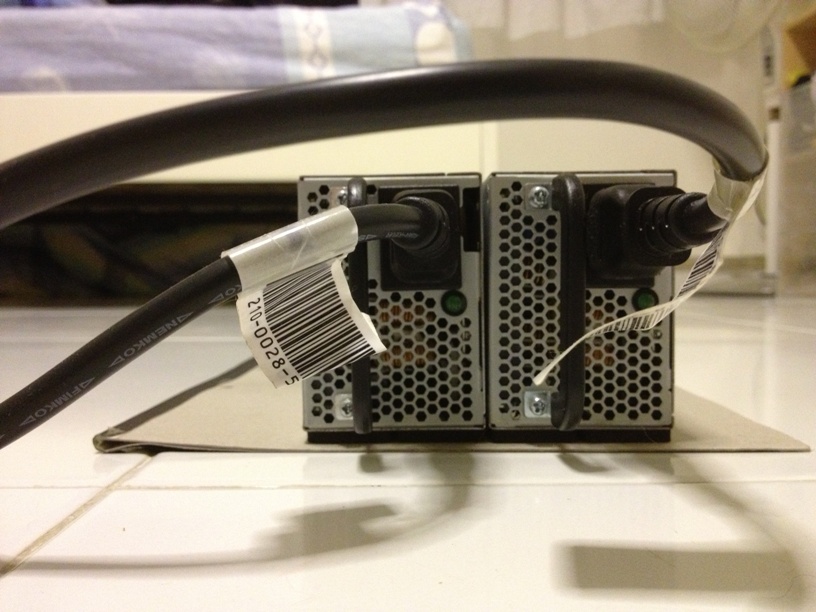
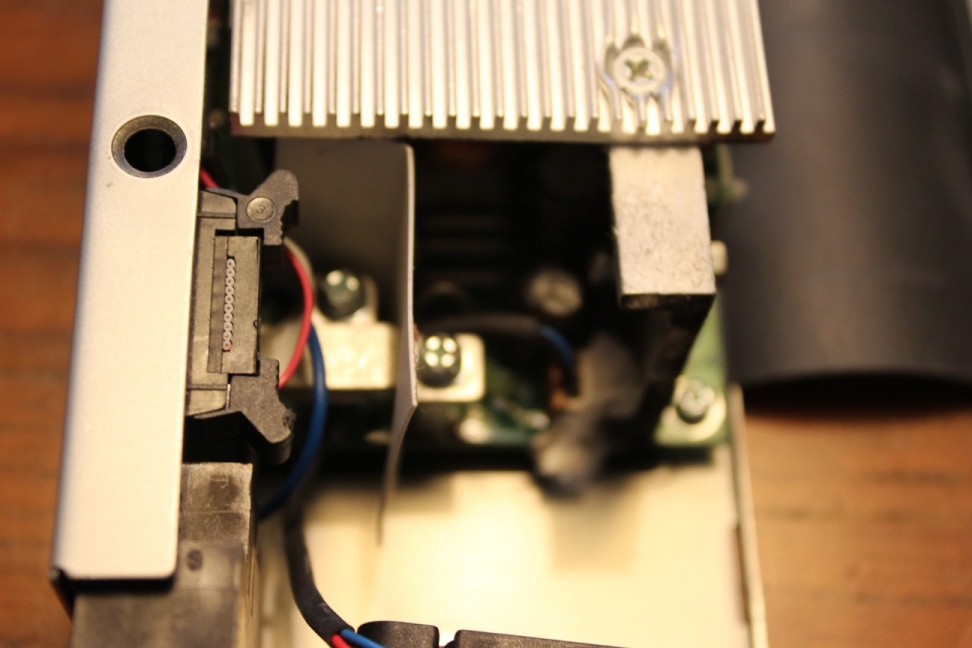
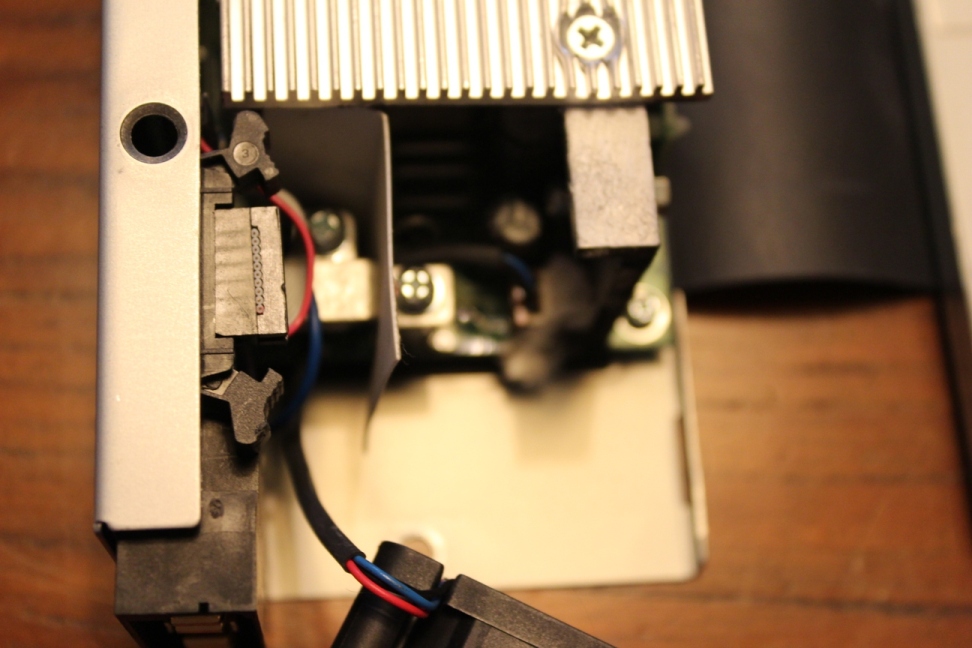
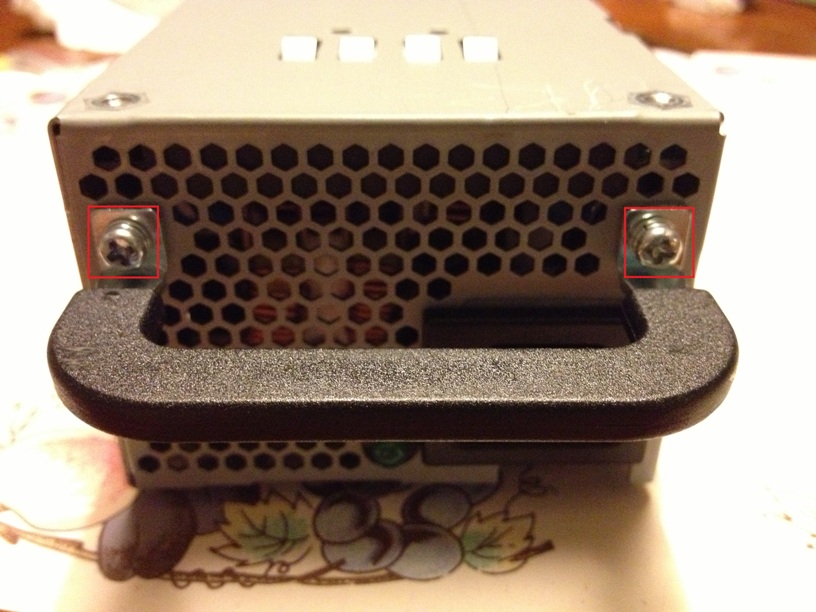
Side:
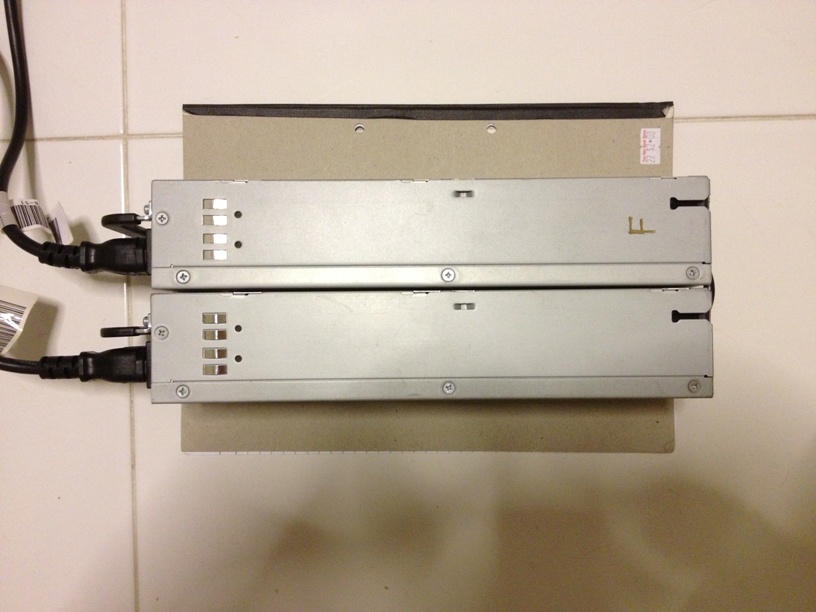
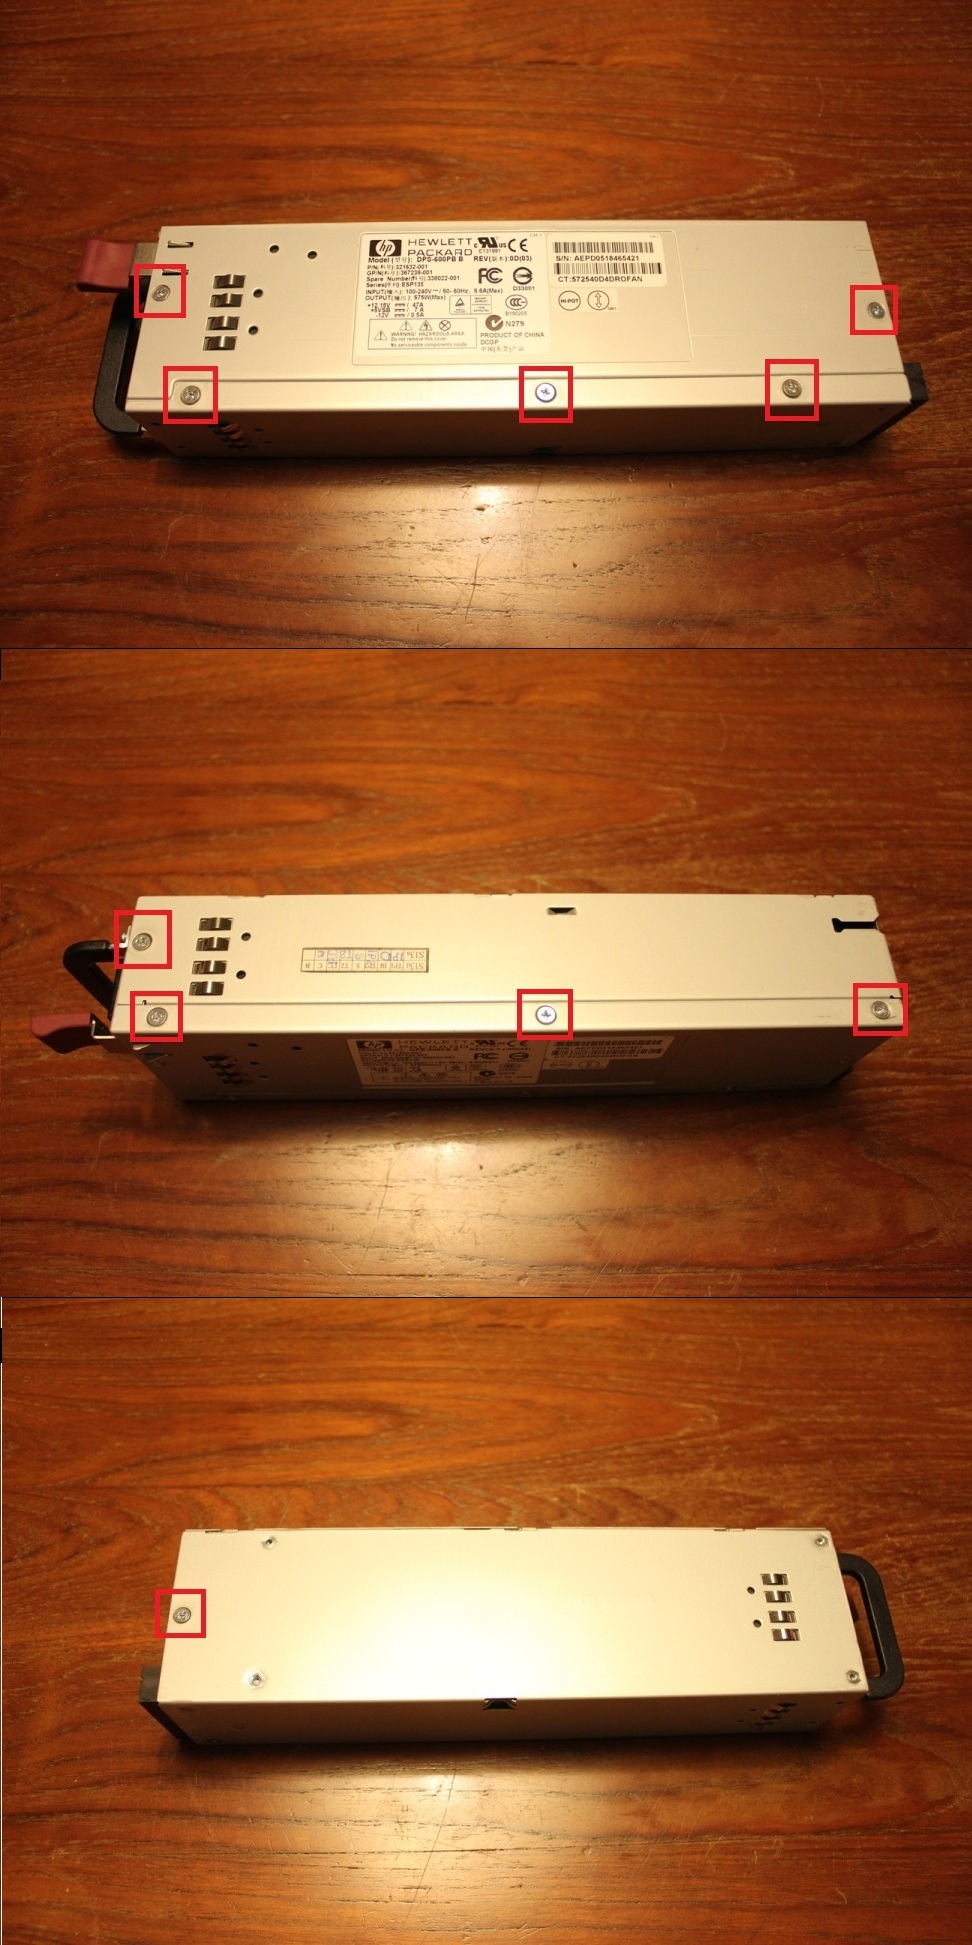
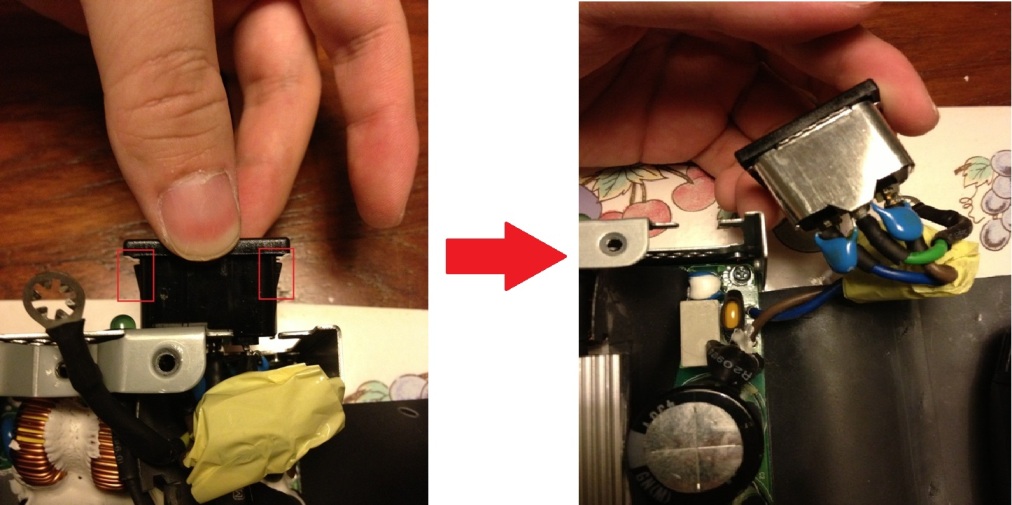
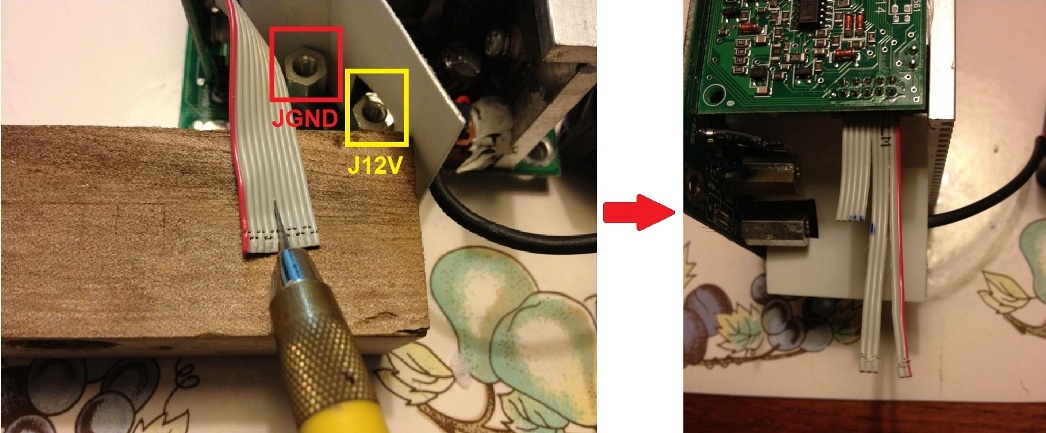
Top:
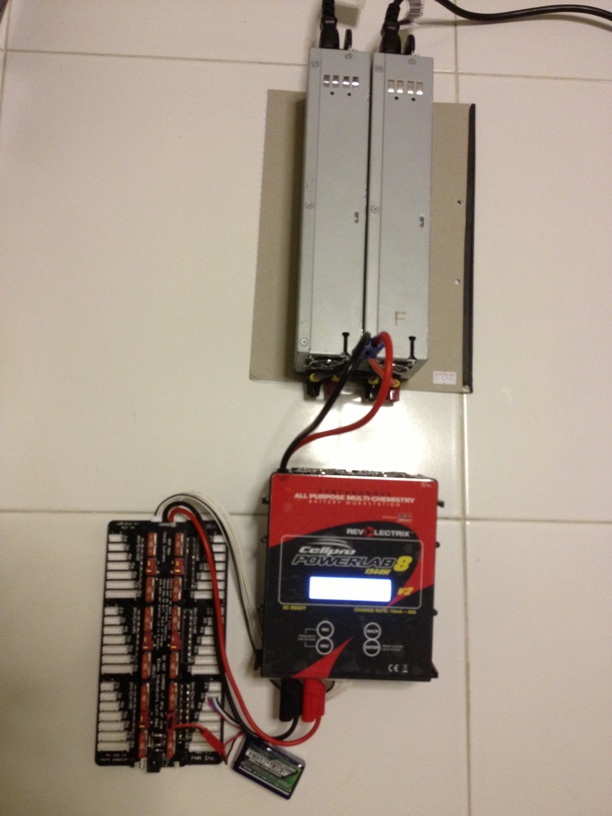
Charging Setup:
And oh BTW the F on the right hand side power supply does not mean FAIL it means Floating DC ground.
Introduction:
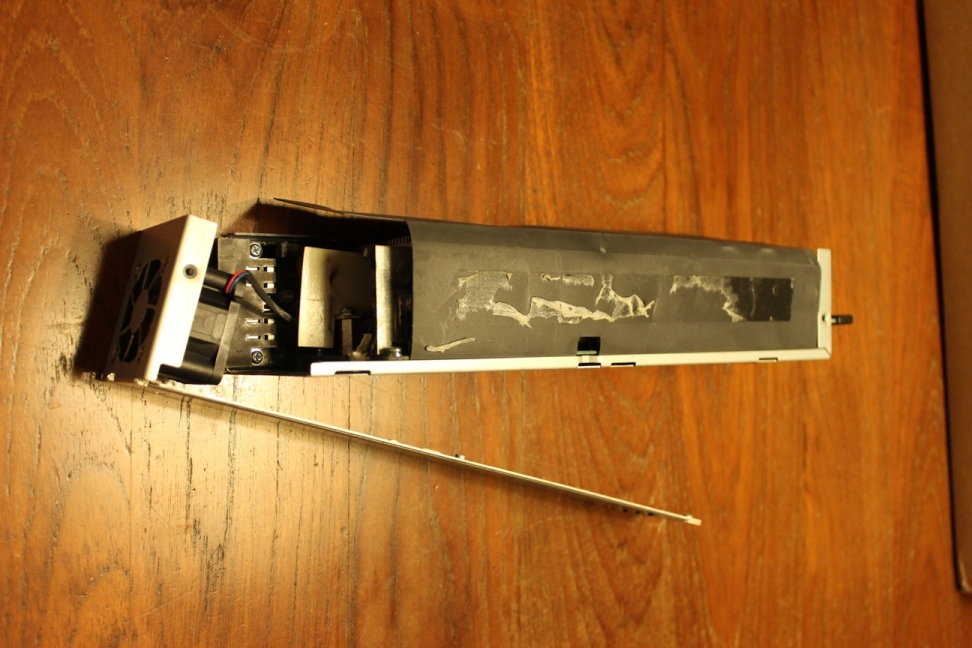
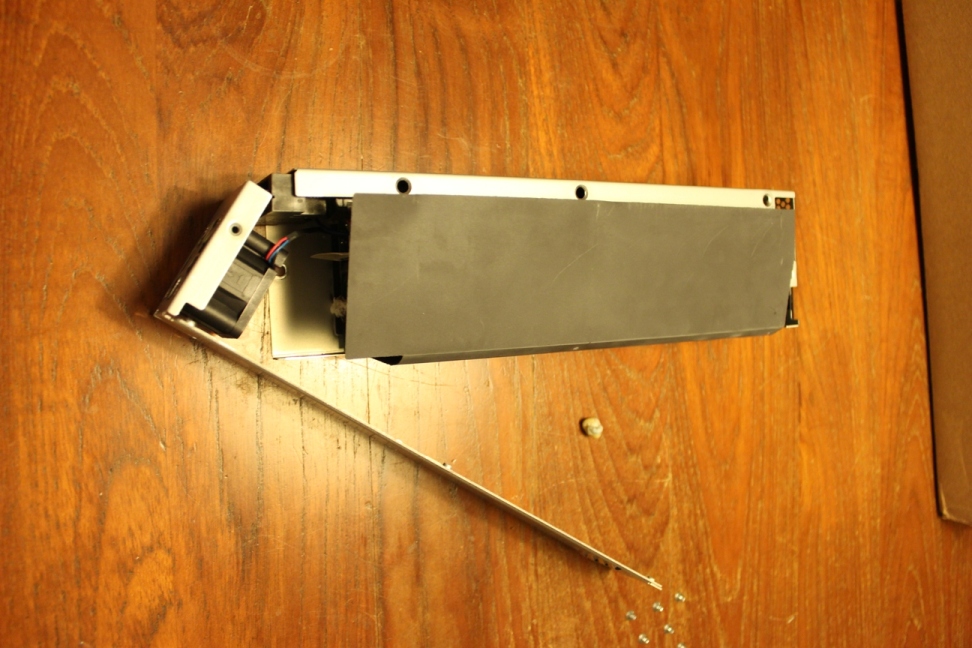
There are many ways you can build this power supply. It can be done really cheaply at perhaps $150 if you just want a workhorse, or if you want the supplies to look "factory-made" you can do it for $450. This is because I bought a drill press with stepped-bit to bore out the holes in the L aluminium angles used to mount the binding posts. That drill press and stepped-bit alone was $300.
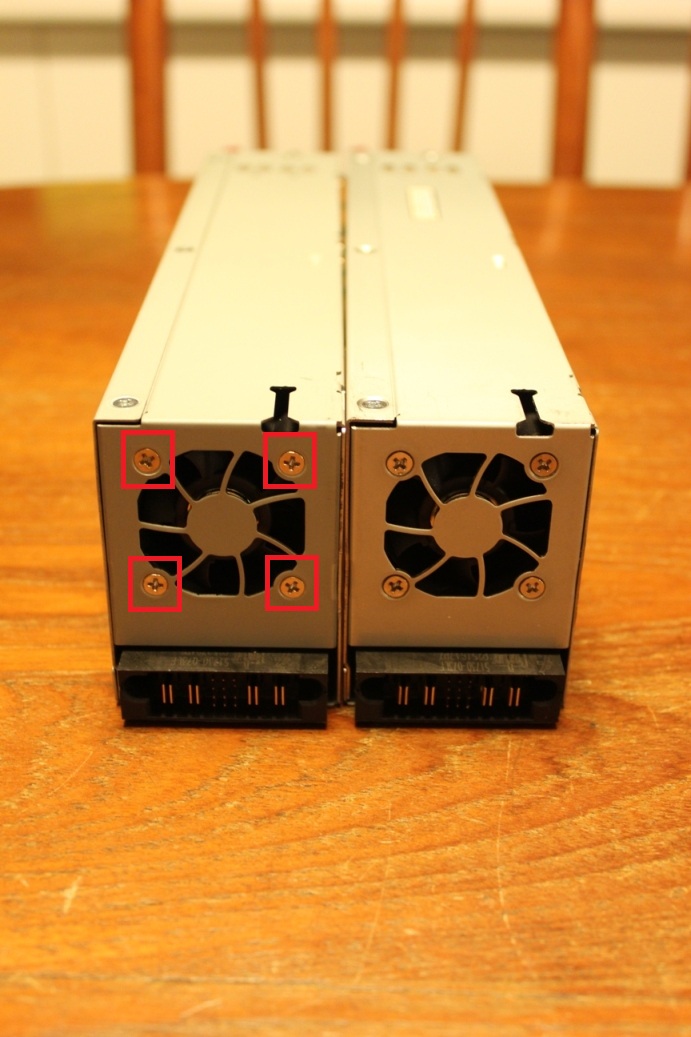
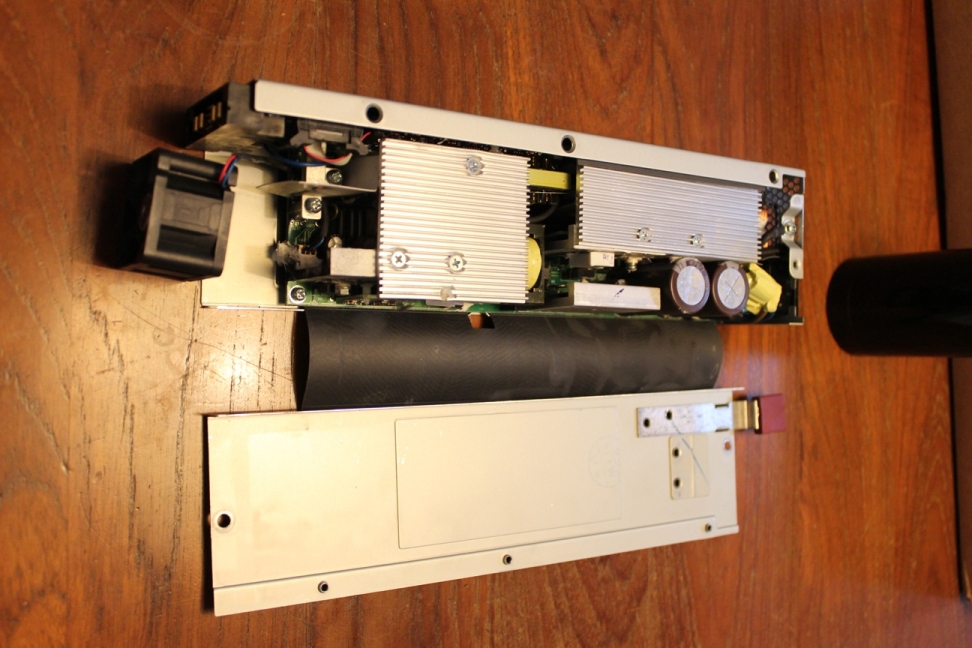
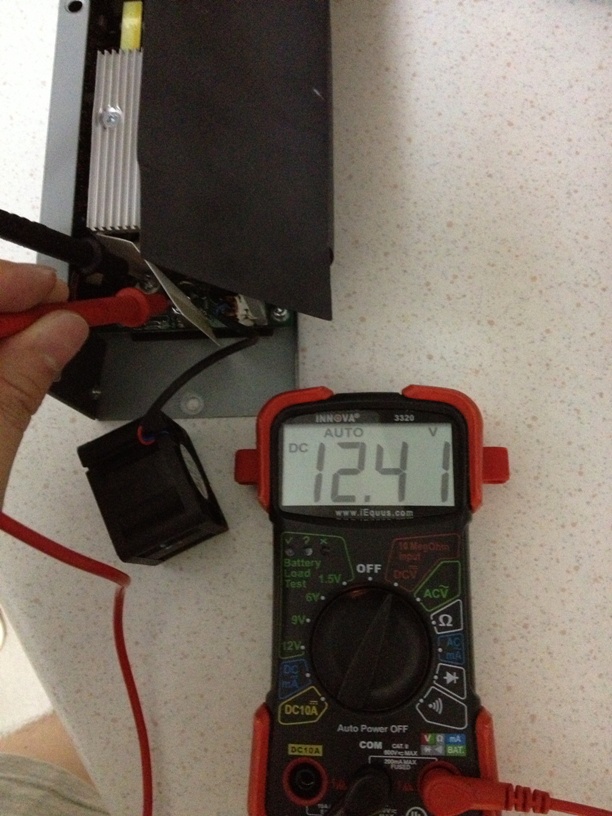
At $150, you may think why not get the Efuel 1200W 60A with warranty for ~$230. Well, first of all I do not like the Active Power Factor Correction of the Efuel. It is >0.7, which IMO is really, really bad efficiency. The HP DPS 600PB is >0.99. This is even better than some thousand dollar Meanwell Power Supply! Second of all, the HP DPS 600PB are power supplies meant for corporate servers. Bought brand new, they are a few hundred dollars each and are meant to be high end supplies in harsh heat server environments. Simply put, they provide cleaner, less noise and lower ripple current output. Thirdly, there is much joy in building your own power supply too
If you want to get a commercial power supply, I recommend the Chargery S1200. Please see the link to for an understanding of how active power factor correction works.
Safety:
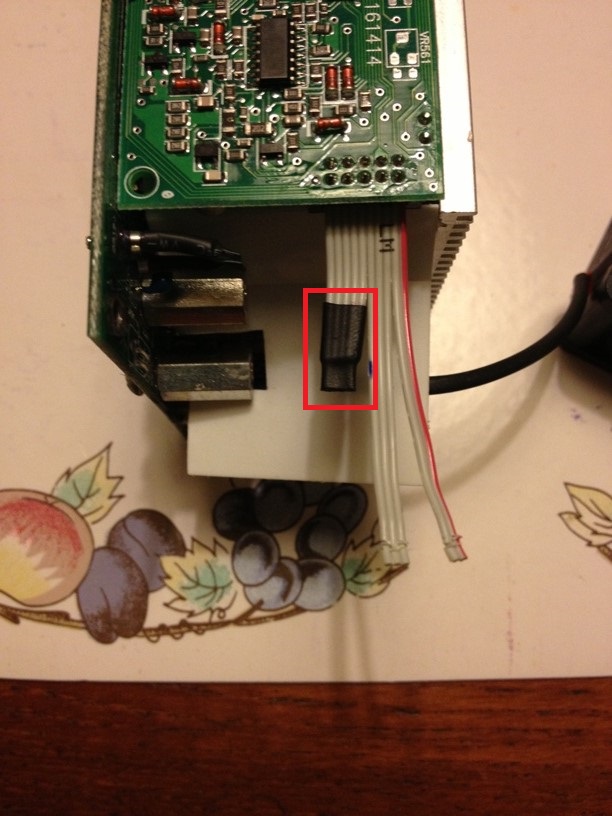
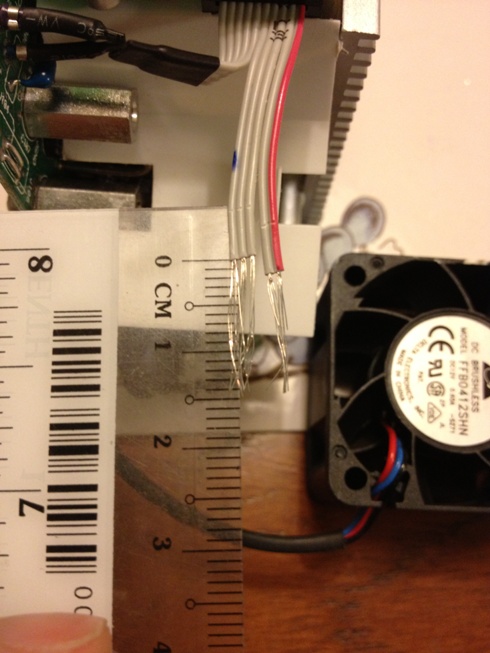
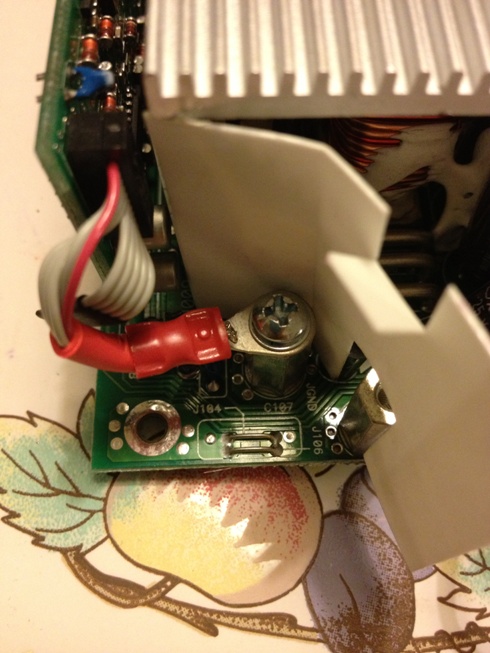
For the sake of safety, I picked quality components from places like RS Components Singapore. For example, the binding posts I used were Keystone 7019, rated up to 30A. While this is still lower than the maximum output of the powersupplies at 47A, it was the highest current capacity I could find and had been proven to work reliably on other forums (RCG, Helifreak). Just keep the charge wires reasonably short at less than 50 cm. The Keystones are also $8 per piece, as compared to the Sim Lim Tower or Ebay 5 for $10 China binding posts of unknown ratings.
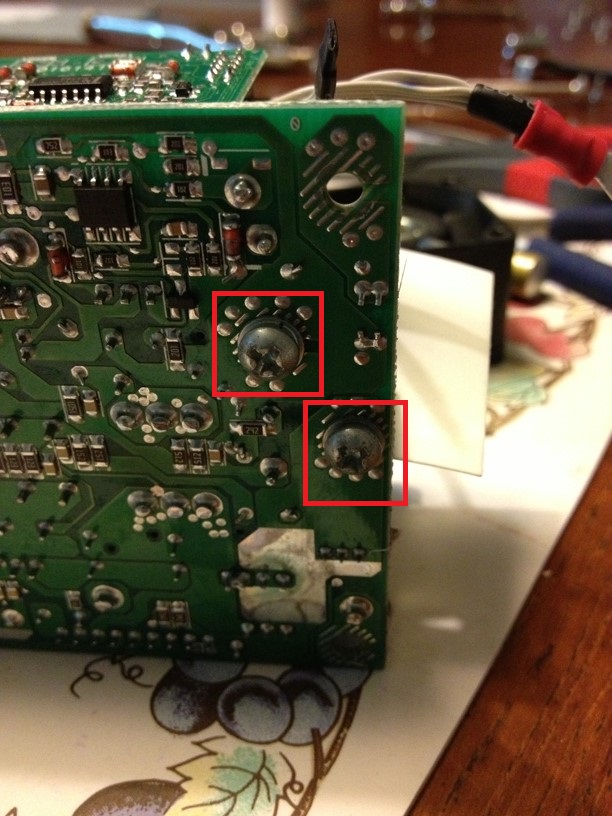
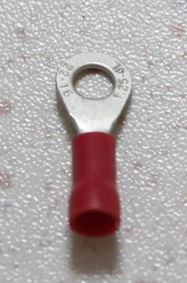
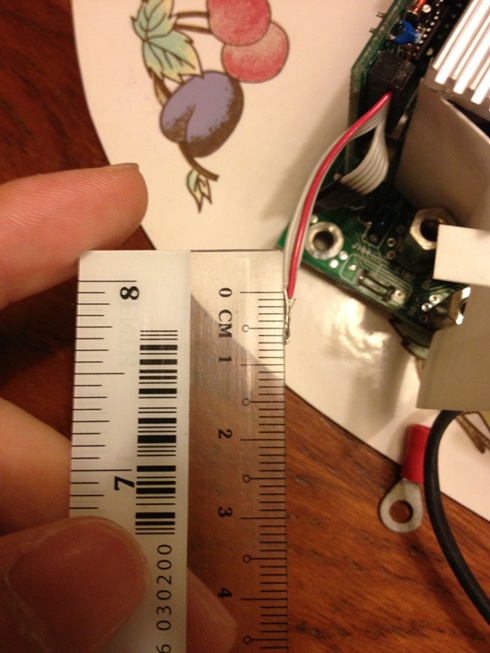
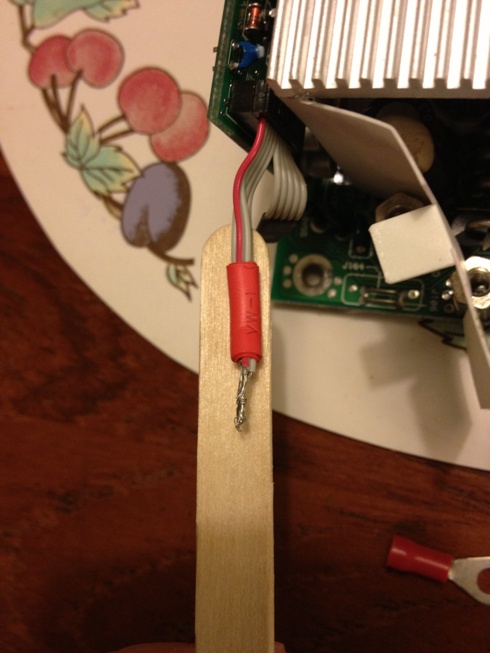
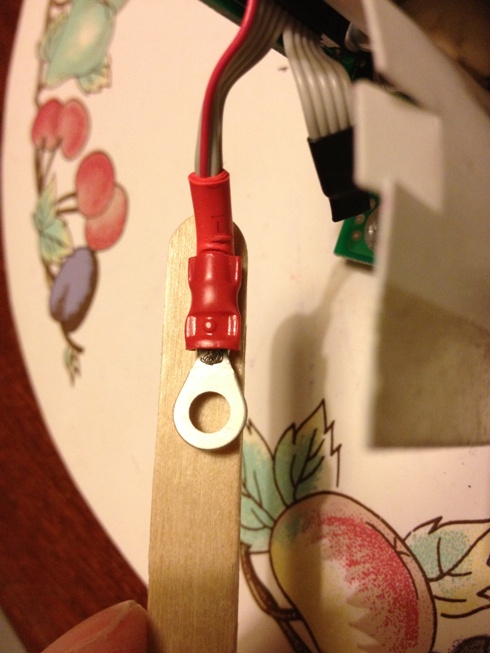
I also did research on the ring terminals used, to ensure that they are the optimal size and rating for their purpose. There is more than meets the eye!
Lastly, I expect anyone wanting to undertake this project to have some basic common sense and understanding of electricity when working on the supplies. They can be LETHAL if you don't know what you are doing. Seriously.
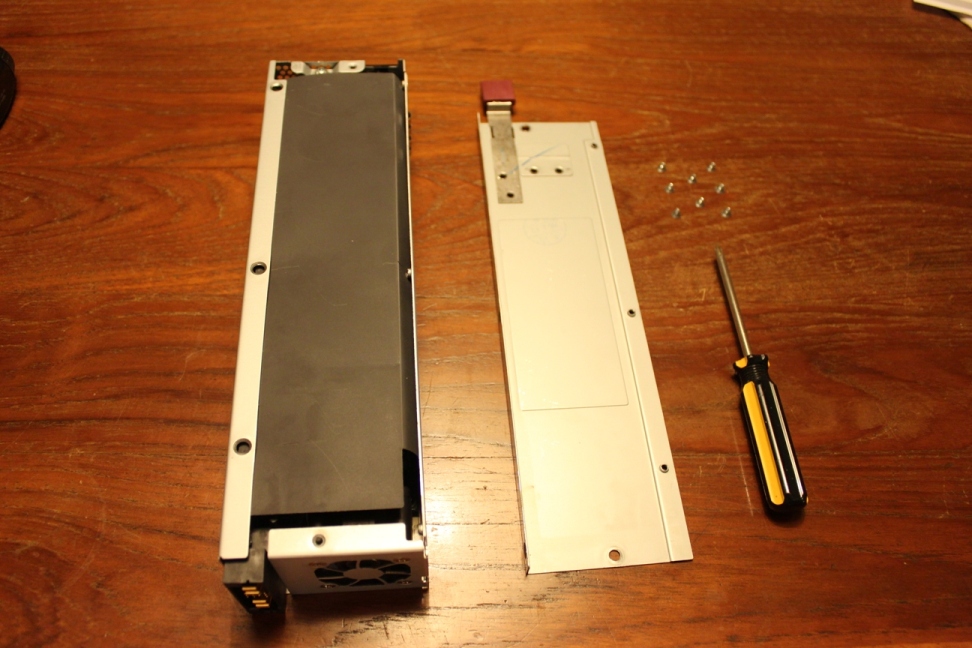
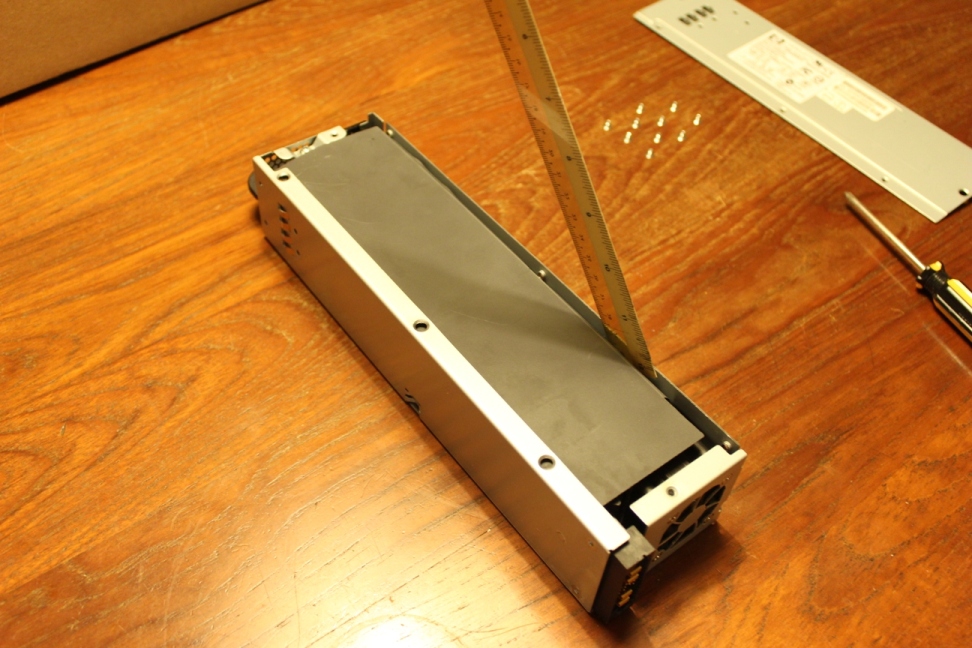
To be continued...
I thought I would start by show-casing the end product first:
Front 1:
Front 2:
Back 1:
Back 2 (Green LED on when Power Supply On):
Side:
Top:
Charging Setup:
And oh BTW the F on the right hand side power supply does not mean FAIL
it means Floating DC ground.Introduction:
There are many ways you can build this power supply. It can be done really cheaply at perhaps $150 if you just want a workhorse, or if you want the supplies to look "factory-made" you can do it for $450. This is because I bought a drill press with stepped-bit to bore out the holes in the L aluminium angles used to mount the binding posts. That drill press and stepped-bit alone was $300.
At $150, you may think why not get the Efuel 1200W 60A with warranty for ~$230. Well, first of all I do not like the Active Power Factor Correction of the Efuel. It is >0.7, which IMO is really, really bad efficiency. The HP DPS 600PB is >0.99. This is even better than some thousand dollar Meanwell Power Supply! Second of all, the HP DPS 600PB are power supplies meant for corporate servers. Bought brand new, they are a few hundred dollars each and are meant to be high end supplies in harsh heat server environments. Simply put, they provide cleaner, less noise and lower ripple current output. Thirdly, there is much joy in building your own power supply too
If you want to get a commercial power supply, I recommend the Chargery S1200. Please see the link to for an understanding of how active power factor correction works.
Safety:
For the sake of safety, I picked quality components from places like RS Components Singapore. For example, the binding posts I used were Keystone 7019, rated up to 30A. While this is still lower than the maximum output of the powersupplies at 47A, it was the highest current capacity I could find and had been proven to work reliably on other forums (RCG, Helifreak). Just keep the charge wires reasonably short at less than 50 cm. The Keystones are also $8 per piece, as compared to the Sim Lim Tower or Ebay 5 for $10 China binding posts of unknown ratings.
I also did research on the ring terminals used, to ensure that they are the optimal size and rating for their purpose. There is more than meets the eye!
Lastly, I expect anyone wanting to undertake this project to have some basic common sense and understanding of electricity when working on the supplies. They can be LETHAL if you don't know what you are doing. Seriously.
To be continued...


Comment