Announcement

Collapse
No announcement yet.

Slow Flying Concorde

Collapse

Zenm Tech Pte Ltd

Collapse

Visit Zenmtech at rc.zenmtech.com

X
 
  • Filter
  • Time
  • Show
Clear All
new posts

    Slow Flying Concorde

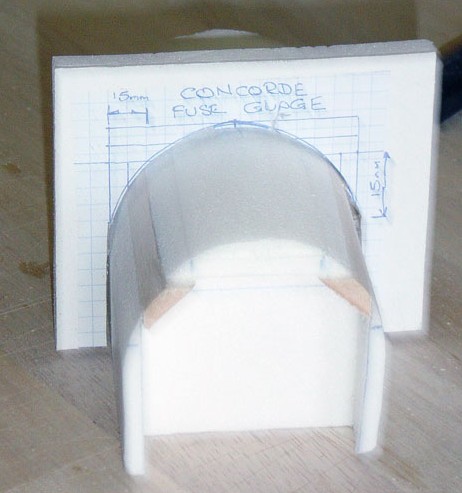
    Those who know me, know I have a love for civil airliners, and by chance Steven had done a set of plans for a Concorde. The plastic card took a hit at Art Friend and construction has begun (be warned I am slow builder...yawn...). With all the things that I had learnt / and mistakes made.!! in making the Eagle, I had a reasonable idea what was required to get a good finish this time. Concorde has a beautiful shape and I wanted to get as close as possible to this, so sorry Steven first modification was to de-box the fuselage, several ideas were tossed over the balcony of our flat and I decided to make a proof of concept model. The jig round the model is the rough cut shape prior to final sanding and finishing so there will be even less wood and foam.

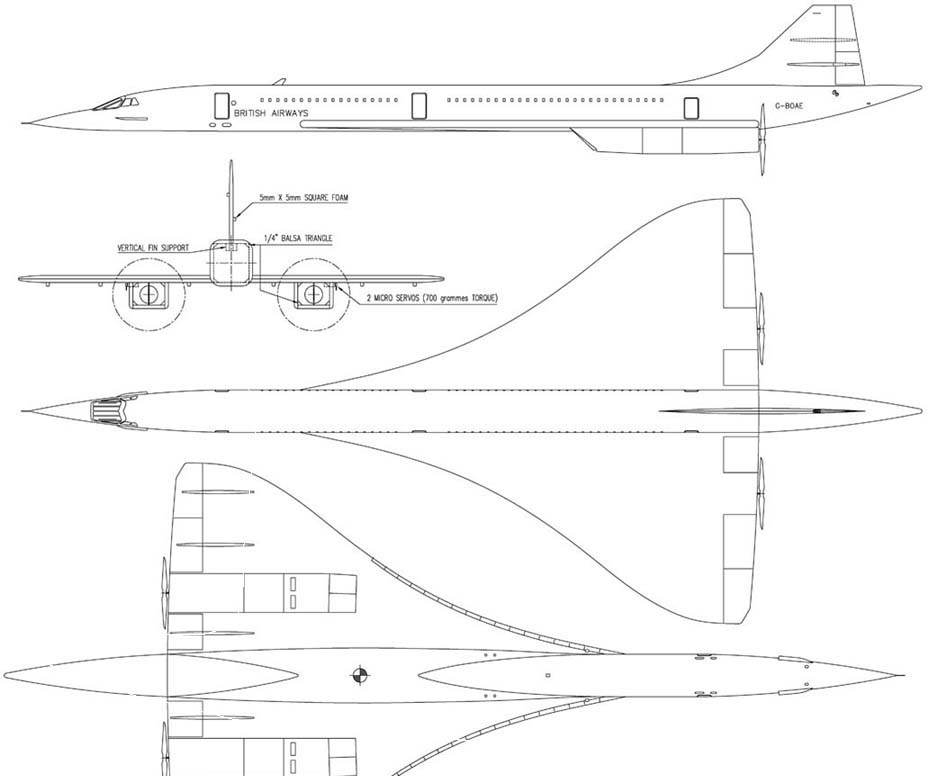
    Hi Dennis, Astroboy here I'm inserting the Concorde drawings here, folks it's FREE for download

    Last edited by AstroBoy; 29-06-2005, 11:23 AM.

    #2
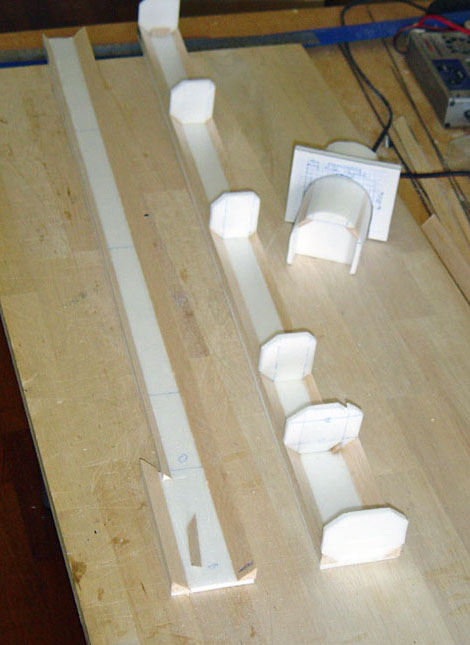
    So constrcution has now started in earnest all the parts were cut out of 5mm Depron, I made another change to Stevens design in that I wanted more torsional strenght for the sanding exercise so I added a few more formers.

    TILED plans are found below here.

    Last edited by AstroBoy; 23-11-2005, 07:07 PM. Reason: Added Tiled PDF Plans

    Comment


      #3
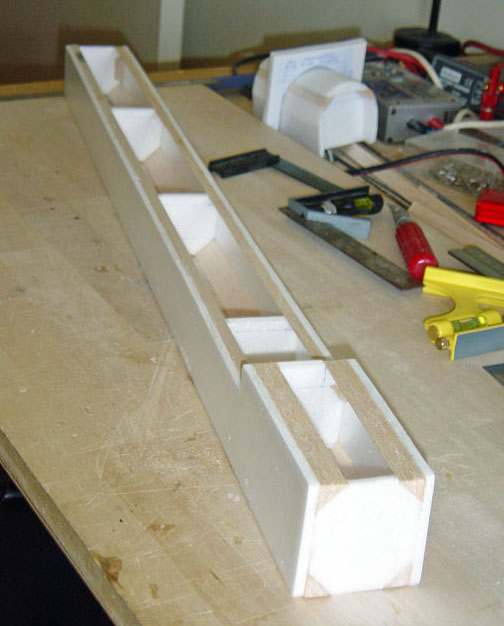
      Next the easy but hard part of joining the two fuselage sides together, because the fuselage has a step for the wing you need a datum so the 1/2" traiangle on the top of the sides makes a good reference for the joining and later for getting the wing platform parallel and square which will be performed once the top decking is in place....more anon on this. With some of more models having a strong desire to follow the laws of Mr. Gravity the forward bulkhead has some small 1/4" triangle to ensure a solid face for the fitting of that long pointed nose.. The fuselage is small but will happily take a 2,000mA Kokam which will be required for the twin AXI's. I also used 1/4" triangle to make the wing seat, which again will allow the wing seat to be sanded square.

      Last edited by AstroBoy; 22-05-2005, 01:53 PM.

      Comment


        #4
        depron

        hi DennisP can i ask is the depron can b sand paper how caome all the side is have round how u do it i trying to make i f-15 so need some advice


        i'm sorry to disturb

        any way u all are great

        Comment


          #5
          Mr Airliner Dennis, It's my pleasure Do whatever it deems fit to modify the drawings to get this beautiful British/French Supersonic Bird up in the air, in case everyone doesn't know, Dennis is 100% pure British working here as an expatriate
          Yeah, he's a slow builder, probably will maiden this concorde next weekend!
          Carry On Old Chap! Build ! Build ! Build !
          Some pictures to pay tribute to this beautiful supersonic airliner

          Comment


            #6
            Thanks AstroBoy for the pictures, special request as I have been a SIN PR for almost 10 years can I be 20 % SIN, 40% British and the remainder got lost in all the other places that I have worked in this world.....!

            Comment


              #7
              Sorry I forgot to answer the previous query about sanding Depron, first ensure your mum, wife, girlfriend or whoever are out of the house. To sand Depron / wood I use a "T" bar sander (Tower Hobbies or NTC sell these) which is 11" long about 2" wide and has sandpaper glued to same. You can if you have some good flat wood make your own. The big advantage of this kind of sander is you get a consistant sand the length of the foam. So make a 45 degree sanded angle first the over the whole length and then radius from there. It takes time so take your time, always rough sand the shape you want first with a course grit paper 80 / 100 grit, then slowly finish off using finer and finer paper unitl you get to 1000 grit. Hope that this helps

              Comment


                #8
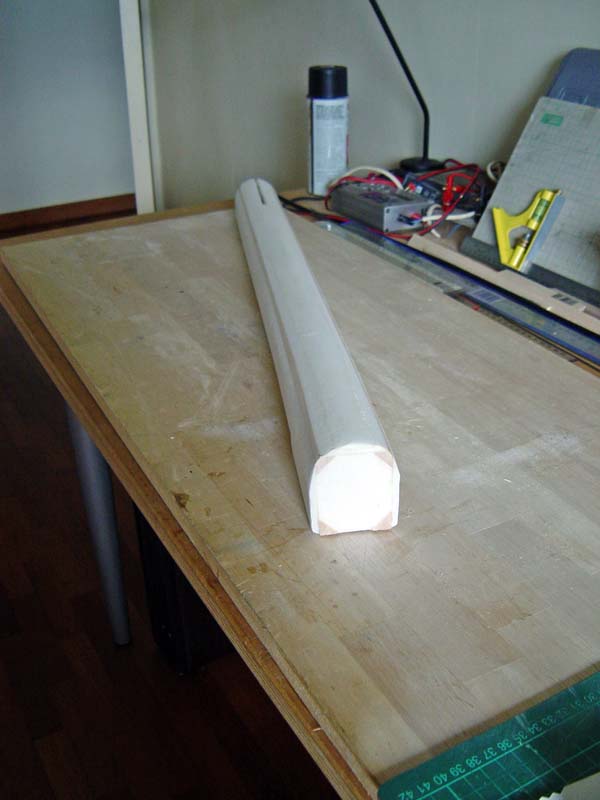
                Made a small amount of progress but an awfull amount of Depron dust, here is the fuselage now with the top decking in place and rough sanded to shape. Next step is the nose and tail cone and associated shaping.

                Comment


                  #9
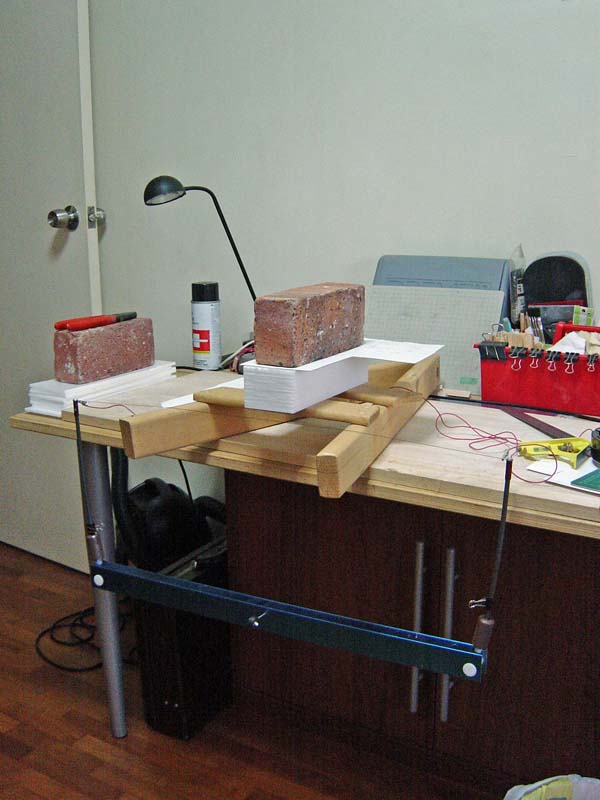
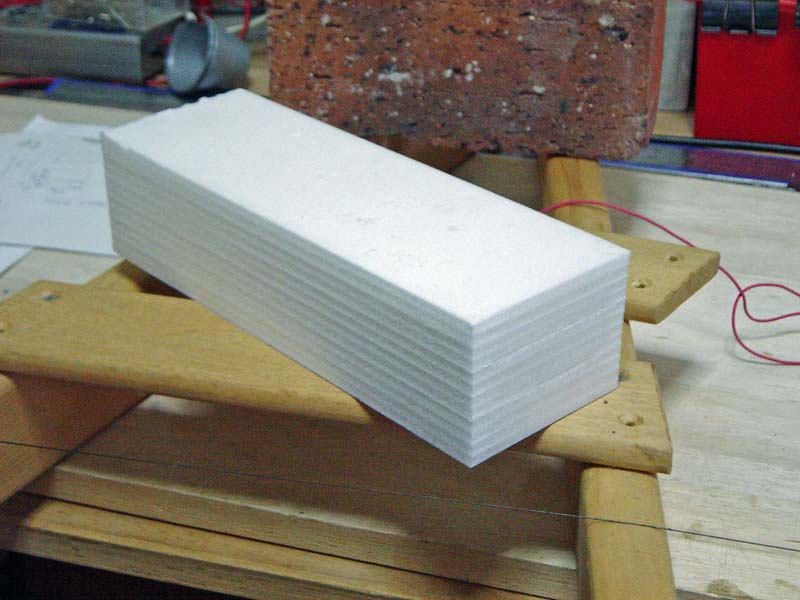
                  Slow progress at SSW area 617 in the construction program, but we are moving ahead slowly. The next big part is the nose and tail cones Having purchased another can of 3M 77 spray as the first was a non worker I cut up well oversize pieces of Depron to make the blocks for the nose and tail, these will then be trimmed down to make nice square blocks of Depron for the shaping process. I use my hot wire cutter to do the cuts and rely on Mr. Gravity to ensure the cuts are straight. The pictures show the tail block after the final cut and the block as completed. Excuse the pun but is this Concorder going to be a Depron brick...? The next step hopefully on Friday night will be the inital shaping of the nose and tail I will show how I get that curvacious Concorde nose and tail shape.....

                  Comment


                    #10
                    I know that AstroBoy is bound to ask, and that is where is the fin slot in the tail block.Well may he ask...... m plan / solution will be to use the current slot in the top of the fuselage as guide with guide bars and route out the tail cone once it is fitted to the fuselage that way I shoul get a nice slot that is straight and square.

                    Comment


                      #11
                      No, i'm not going to ask anything!
                      Just want to watch a good builder build his stuff!

                      Comment


                        #12
                        Thank u DennisP one more thing i 1 2 ask is the hot wire cutter foam, did u make it or u buy can i have the diagram of the foam cutter if can i need 2 built 1 4 myself

                        Comment


                          #13
                          HI VINSYW1, the hot wire cutter is made by Tekoa in the USA, I imported into SIngapore with some other tools you are about see.

                          Comment


                            #14
                            Time to be creative and do the difficult part and get the nose and tail shapes , the most important part of making the blocks is to have one edge that you define as the datum edge so that everything is at a right angle to this edge.
                            The templates from the drawing were attached using the 3M 77 spray and you will note that one edge of the template is flush with the datum edge.

                            Comment


                              #15
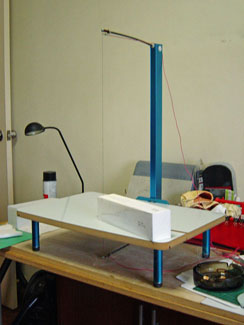
                              Now it is time for the difficult part and that is cutting the Depron to the shape required, for this I use another Tekoa hot wire cutter which is in the picture below. It works great on white and blue foam but Depron seems to require more heat and of course it is me pushing the block past the hot wire and not Mr. gravity so we get a few jerks... . Having used this tool for blue foam I soon realised a big mistake yep a white template on white Depron makes it almost impossible to see the edge of the template , still we overcome as one always does. Next time I shall use a broad tip marker pen to see the edge....
                              Comment

                              Working...
                              X