Hi,
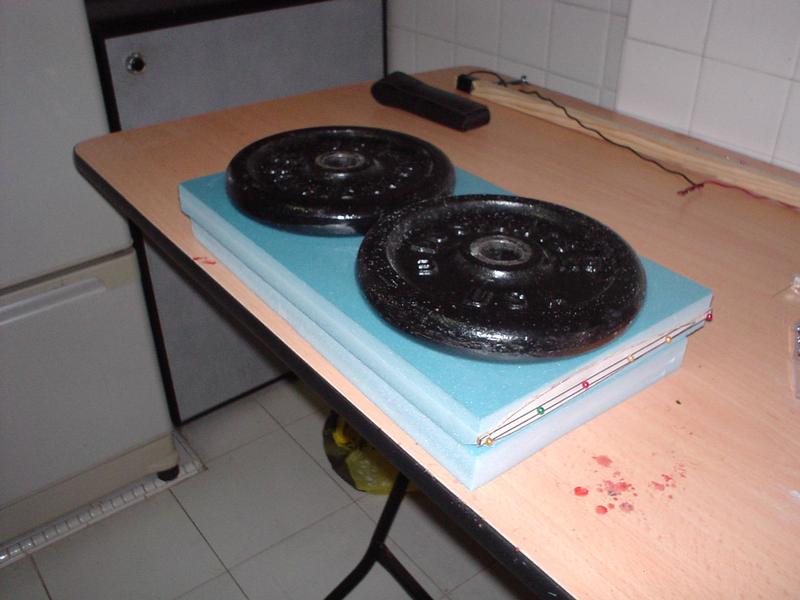
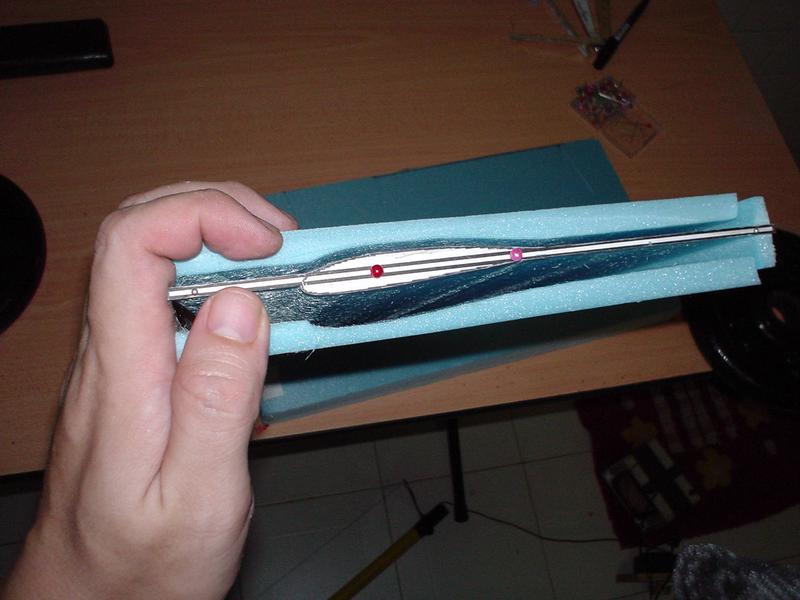
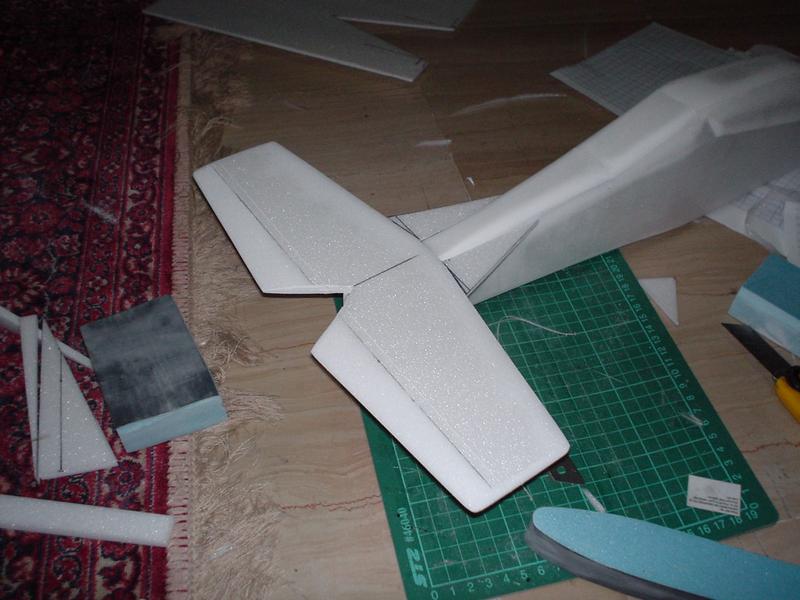
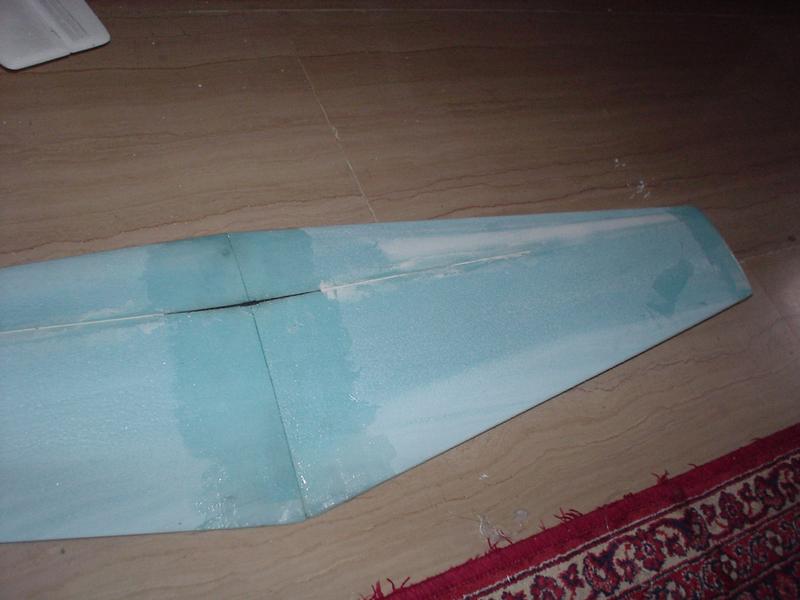
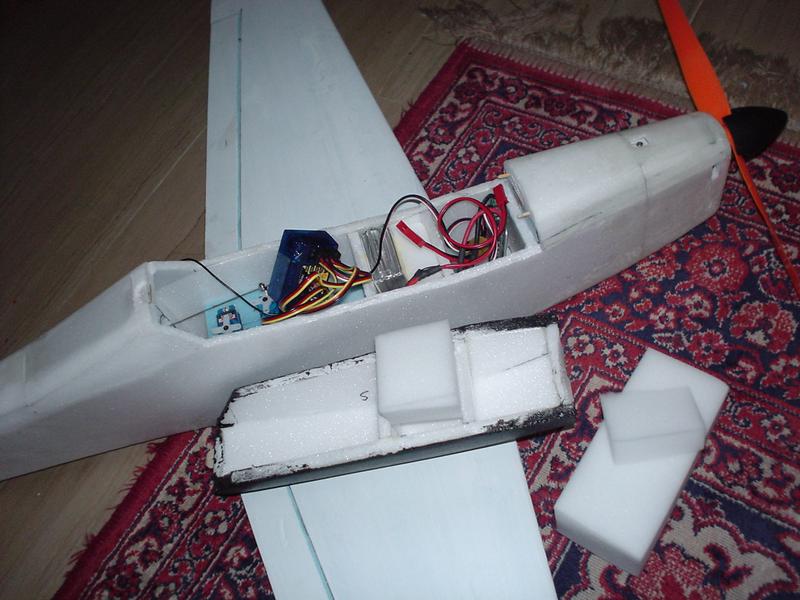
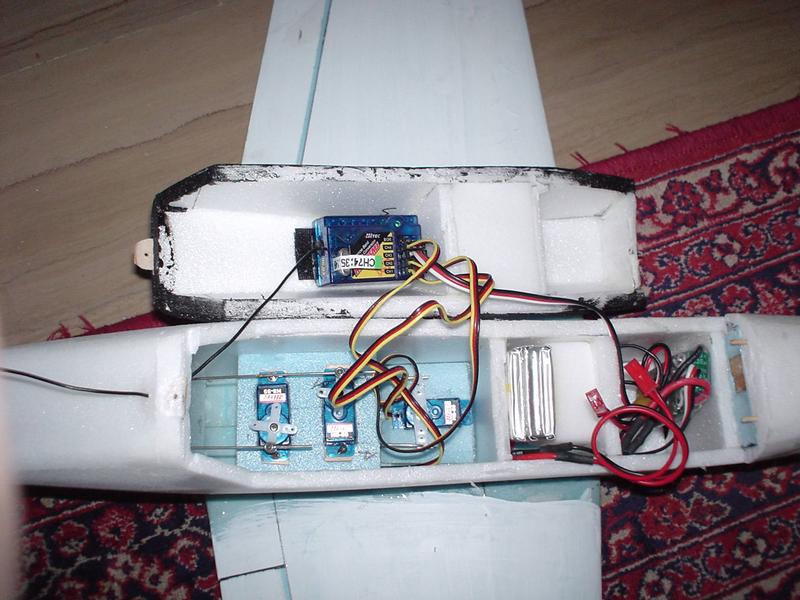
You need someone to help you when you are cutting form core. It is very difficult to cut it all by yourself. You need 2 apirs of hands. Both end of the hot wire have to move at the same rate and the temp of the hot wire have to monitor too. It seems from your pictures that the wire is a bit too hot. Try to control your temp. Remember, Don't force it. You are melting not cutting, so let it go at its own speed. Also seems that there are some slack in your hot wire...
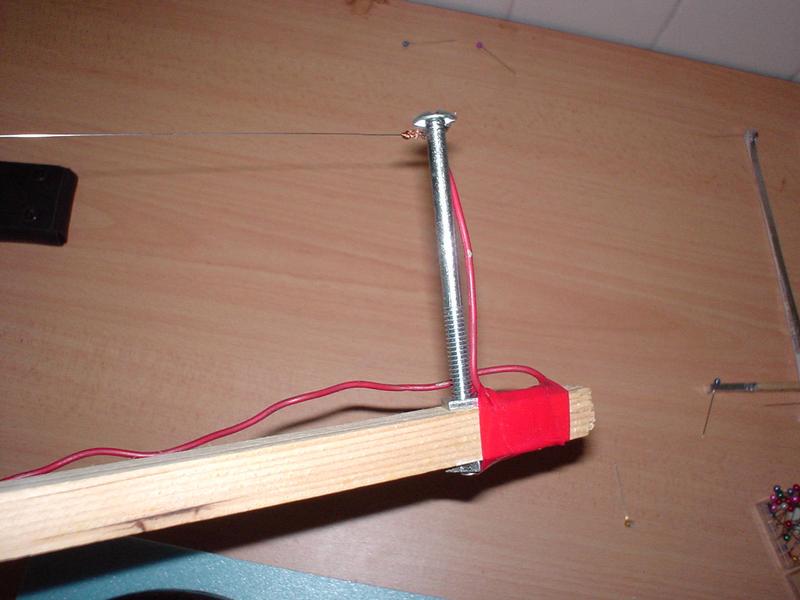
Safety note, if possible, connect your hot wire to your power supply that power your charger. The power supply will provide either 6V or 9V, which is more than enough to heat up the wire. Having live wire and un-protected transformer around your work bench is quite dangerous...
Happy building. It is always great to be able to build planes.
Cheers.
You need someone to help you when you are cutting form core. It is very difficult to cut it all by yourself. You need 2 apirs of hands. Both end of the hot wire have to move at the same rate and the temp of the hot wire have to monitor too. It seems from your pictures that the wire is a bit too hot. Try to control your temp. Remember, Don't force it. You are melting not cutting, so let it go at its own speed. Also seems that there are some slack in your hot wire...
Safety note, if possible, connect your hot wire to your power supply that power your charger. The power supply will provide either 6V or 9V, which is more than enough to heat up the wire. Having live wire and un-protected transformer around your work bench is quite dangerous...
Happy building. It is always great to be able to build planes.
Cheers.
 thanks for your suggestions though!
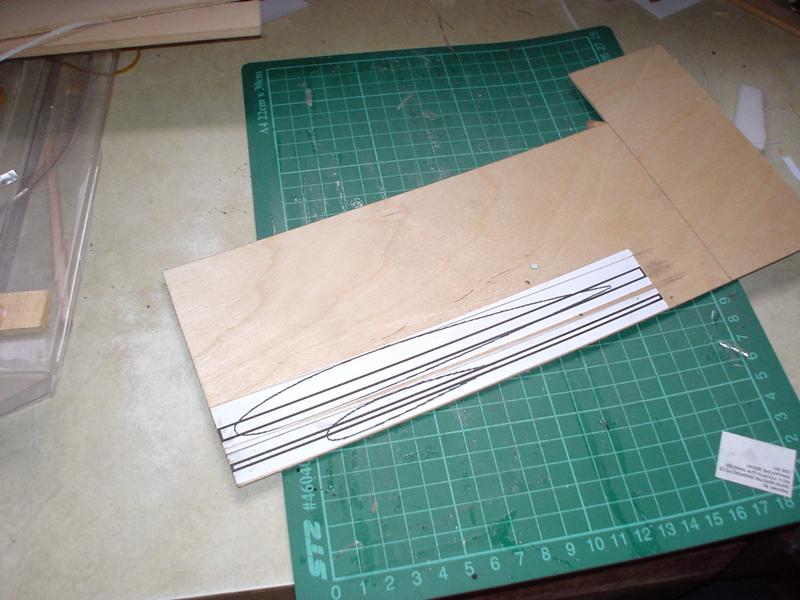


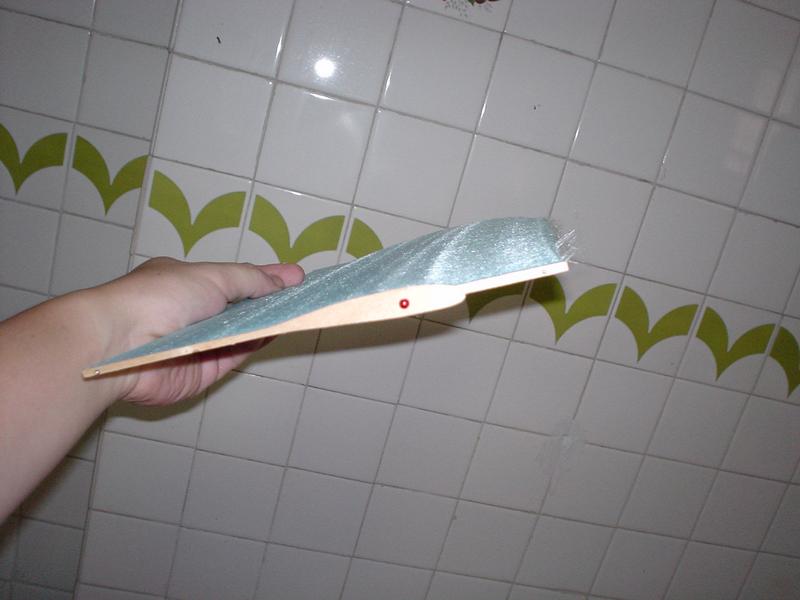


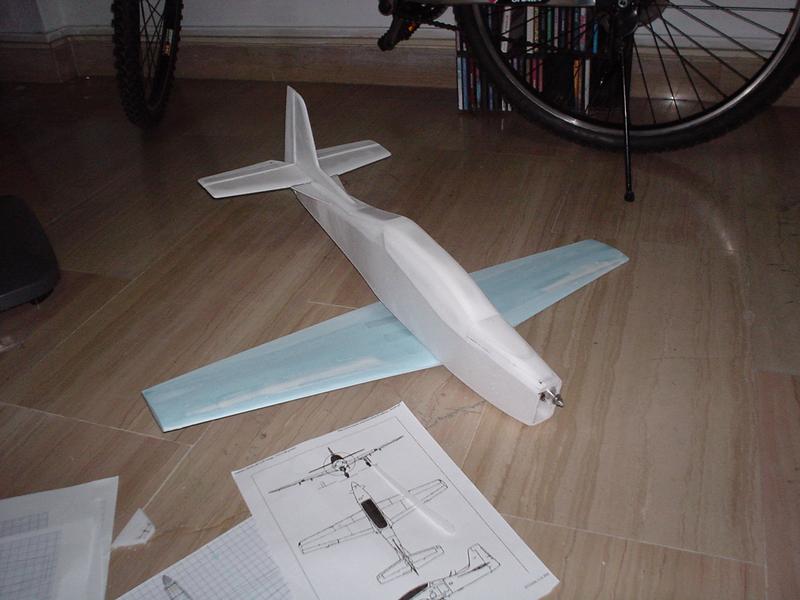


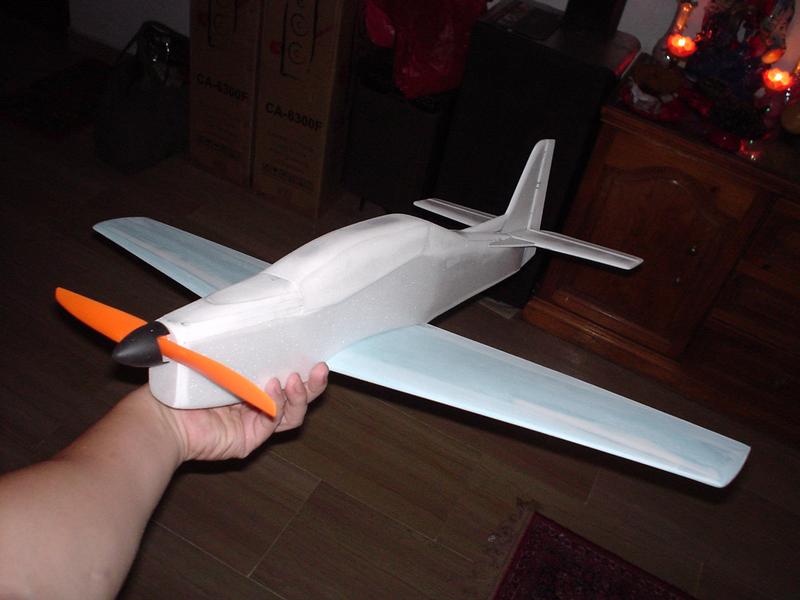
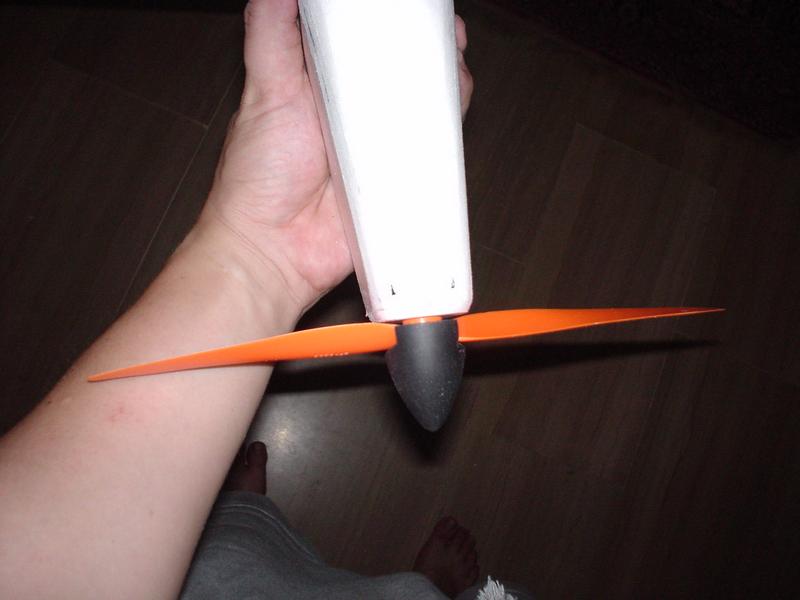
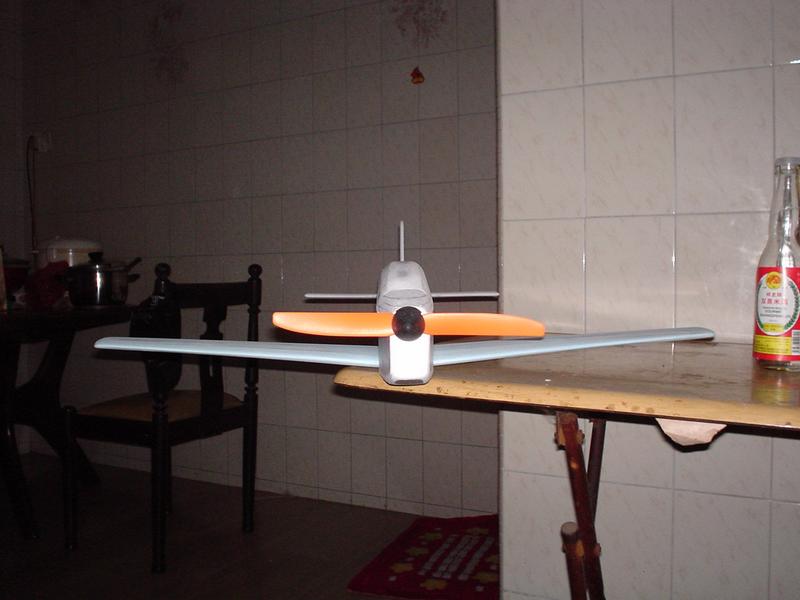
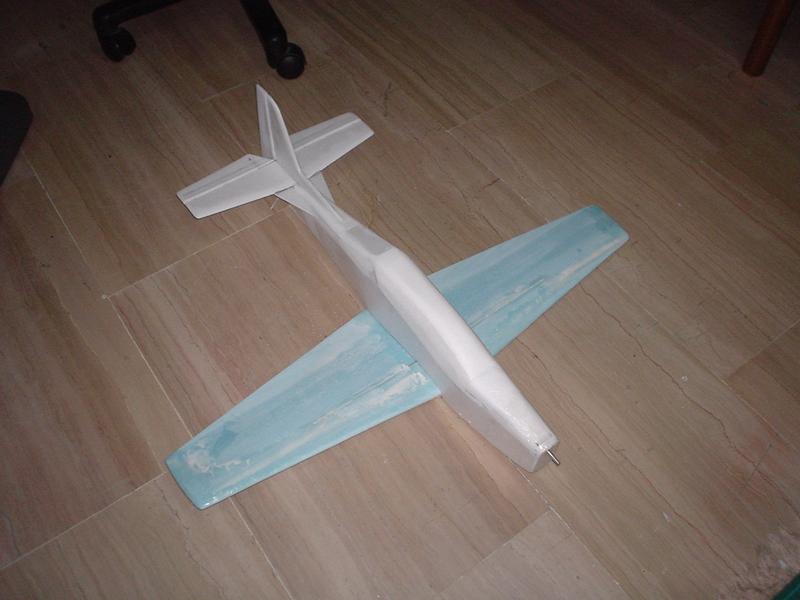


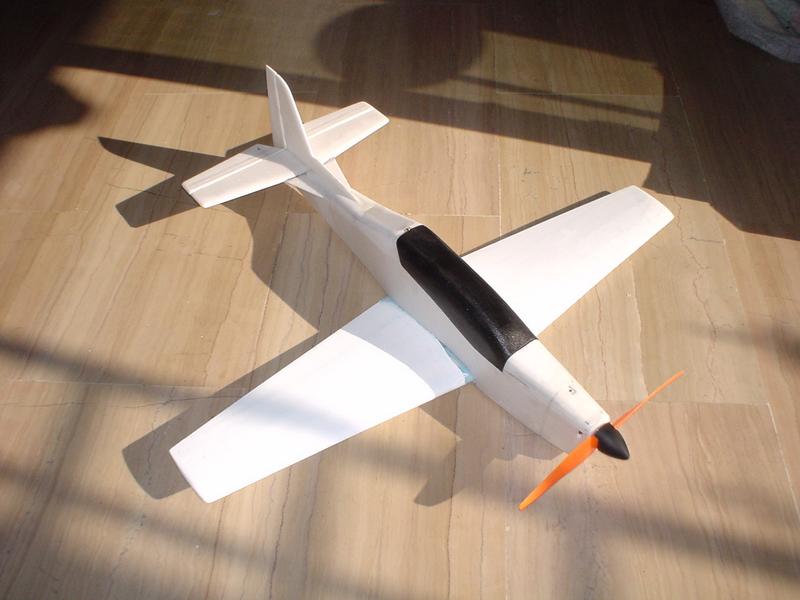

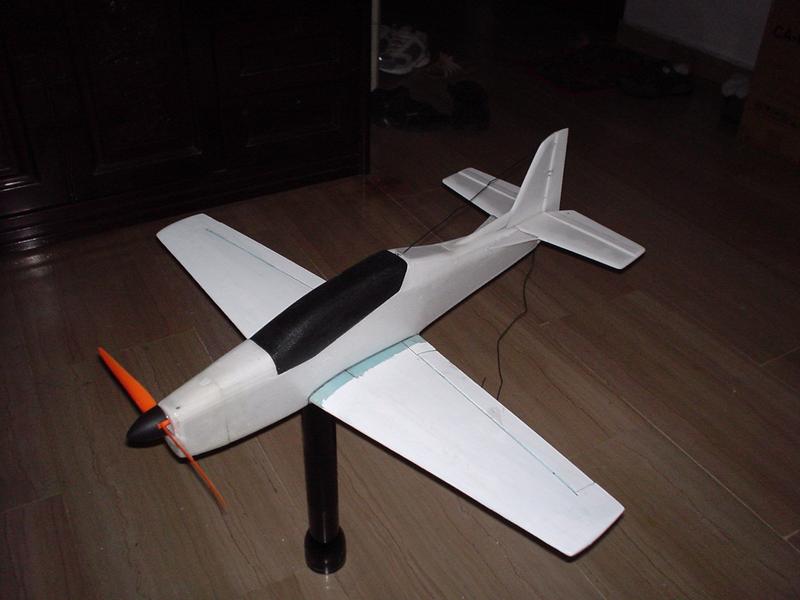
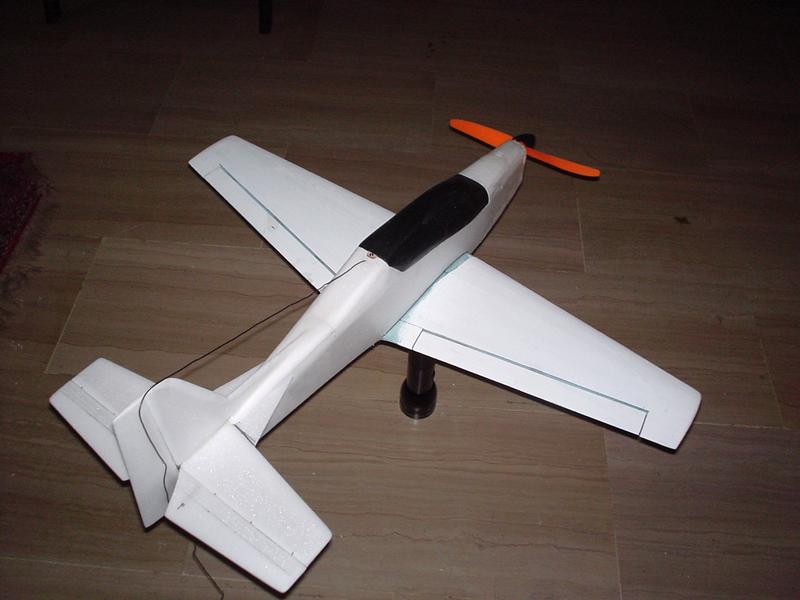


 It's Done! Here's the picture of the Tucano in it's pre-maiden colours. The colour of the Tucano is actually light Grey, but the Flash made it look white.
Comment